3D Touch: Peek And Pop


Besides quick actions, peek and pop is another very interesting 3D Touch feature. By using it you can quickly preview content, for example emails or websites.
Hint: This post is using Swift 3, Xcode 8.2.1 and iOS 10
Let’s take a look at an example, that isn’t using peek and pop yet:
import UIKit

class TableViewController: UITableViewController {

    let data = ["data 1","data 2","data 3","data 4"]

    override func viewDidLoad() {
        super.viewDidLoad()

    }

    override func numberOfSections(in tableView: UITableView) -> Int {

        return 1
    }

    override func tableView(_ tableView: UITableView, numberOfRowsInSection section: Int) -> Int {
        return data.count
    }


    override func tableView(_ tableView: UITableView, cellForRowAt indexPath: IndexPath) -> UITableViewCell {
        let cell = tableView.dequeueReusableCell(withIdentifier: "reuseIdentifier", for: indexPath)

        cell.textLabel?.text = data[indexPath.row]

        return cell
    }


    override func tableView(_ tableView: UITableView, didSelectRowAt indexPath: IndexPath) {

        let detailViewController = createDetailViewControllerIndexPath(indexPath: indexPath)

        navigationController?.pushViewController(detailViewController, animated: true)
    }

    private func createDetailViewControllerIndexPath(indexPath: IndexPath) -> DetailViewController {

        let text = data[indexPath.row]

        let detailViewController = DetailViewController(nibName: "DetailViewController", bundle: nil)
        detailViewController.data = text

        return detailViewController
    }

}
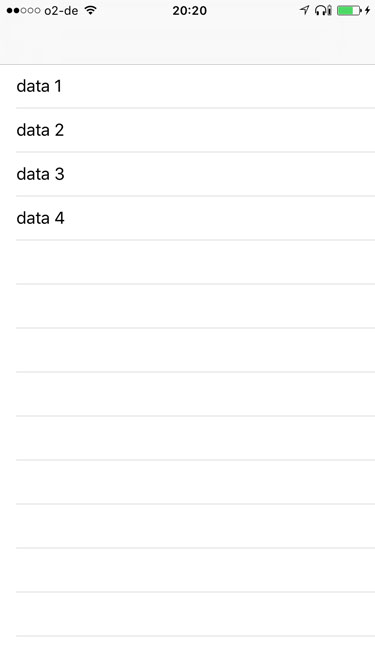
A table with three rows will be displayed:
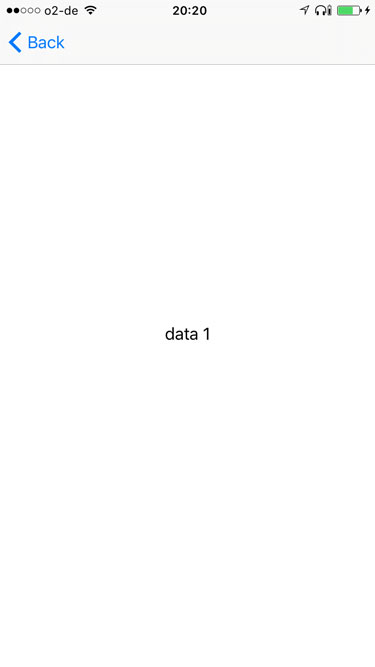
After tapping one of these cells, a new view controller will be pushed:
Note that we aren’t using segues in this example. There is a lot of discussion going on whether you should use storyboards or not. Either way, this doesn’t have an impact on the way how peek and pop has to be implemented.
Peek and Pop
There are three steps for implementing peek and pop:
- Register a view for previewing.
- Return the preview controller for peeking.
- Present the preview controller for popping.
To register a view for previewing, you just have to call one method. We do this in viewDidLoad:
registerForPreviewing(with: self, sourceView: tableView)
In our example, the table view is the view, that should be available for peek and pop. In order for that method to be able to work, our view controller has to conform to the UITableViewControllerPreviewingDelegate protocol:
class TableViewController: UITableViewController, UIViewControllerPreviewingDelegate
This protocol forces you to implement two methods. And these methods are those for steps 2 and 3.
First, we will implement the method, that returns the view controller for peeking:
public func previewingContext(_ previewingContext: UIViewControllerPreviewing, viewControllerForLocation location: CGPoint) -> UIViewController? {

    guard let indexPath = tableView.indexPathForRow(at: location) else {
        return nil
    }

    let detailViewController = createDetailViewControllerIndexPath(indexPath: indexPath)

    return detailViewController
}
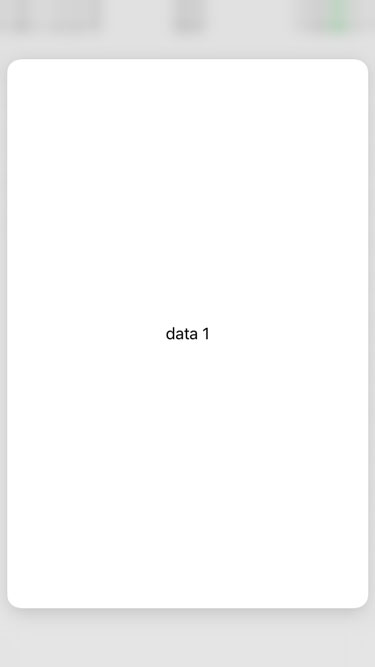
If you are force touching a cell, the following appears:
Now, we implement the method that actually presents the view controller for popping:
public func previewingContext(_ previewingContext: UIViewControllerPreviewing, commit viewControllerToCommit: UIViewController) {
    navigationController?.pushViewController(viewControllerToCommit, animated: true)
}
Altogether, the view controllers’s source looks as follows:
import UIKit

class TableViewController: UITableViewController, UIViewControllerPreviewingDelegate {

    let data = ["data 1","data 2","data 3","data 4"]

    override func viewDidLoad() {
        super.viewDidLoad()

        registerForPreviewing(with: self, sourceView: tableView)
    }

    override func numberOfSections(in tableView: UITableView) -> Int {

        return 1
    }

    override func tableView(_ tableView: UITableView, numberOfRowsInSection section: Int) -> Int {
        return data.count
    }


    override func tableView(_ tableView: UITableView, cellForRowAt indexPath: IndexPath) -> UITableViewCell {
        let cell = tableView.dequeueReusableCell(withIdentifier: "reuseIdentifier", for: indexPath)

        cell.textLabel?.text = data[indexPath.row]

        return cell
    }


    override func tableView(_ tableView: UITableView, didSelectRowAt indexPath: IndexPath) {

        let detailViewController = createDetailViewControllerIndexPath(indexPath: indexPath)

        navigationController?.pushViewController(detailViewController, animated: true)
    }

    private func createDetailViewControllerIndexPath(indexPath: IndexPath) -> DetailViewController {

        let text = data[indexPath.row]

        let detailViewController = DetailViewController(nibName: "DetailViewController", bundle: nil)
        detailViewController.data = text

        return detailViewController
    }

    public func previewingContext(_ previewingContext: UIViewControllerPreviewing, viewControllerForLocation location: CGPoint) -> UIViewController? {

       guard let indexPath = tableView.indexPathForRow(at: location) else {
            return nil
       }

       let detailViewController = createDetailViewControllerIndexPath(indexPath: indexPath)

       return detailViewController
    }

    public func previewingContext(_ previewingContext: UIViewControllerPreviewing, commit viewControllerToCommit: UIViewController) {
        navigationController?.pushViewController(viewControllerToCommit, animated: true)
    }

}
That was not a lot of work, was it?
[thrive_text_block color=”blue” headline=”Conclusion”]Peek and pop is the most important 3D touch action. Since it’s quickly implemented, it’s a good idea to ship this feature with your app.[/thrive_text_block]
Referenes
Title image: @ VOJTa Herout/ shutterstock.com