Embedding a Whole Screen Into a UIScrollView Subsequently


Sometimes you want to add something to a screen and then you become aware that there’s just not enough room. So it would had been a great idea to put everything into a UIScrollView all along. Though it’s a little bit tricky to do it subsequently, it doesn’t take a lot of time to do so.
Hint: This post is using Xcode 8
So our view looks like this:
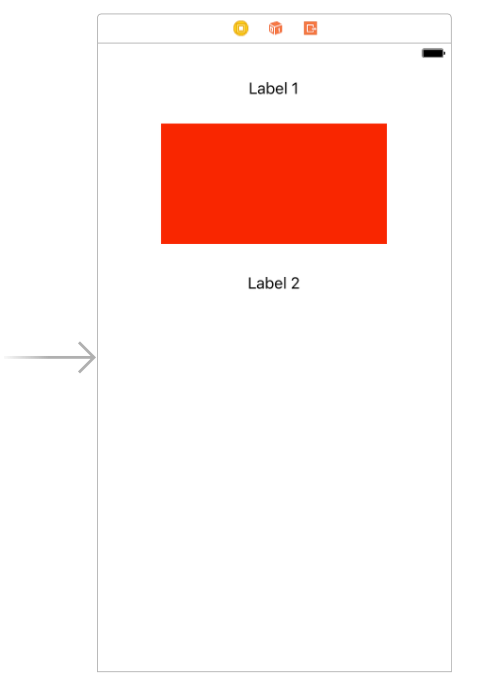
We have a label, a view and a second label. “Label 1” has a top spacing constraint to the top layout guide, the red view has a top space constraint to “Label 1”, and “Label 2” has a top space constraint to the red view. All elements are centred vertically and the red view has constraints for its width and height. Remember that labels don’t have to have width and height constraints because they have an intrinsic content size. Also note, that we are not using an UIStackView. It would be of course also possible to put the stack view into an UIScrollView and that would be even easier.
So far our layout works perfectly fine, but now we want to add a green and a blue view and another label. Doing this and applying similar constraints as before results in this screen:
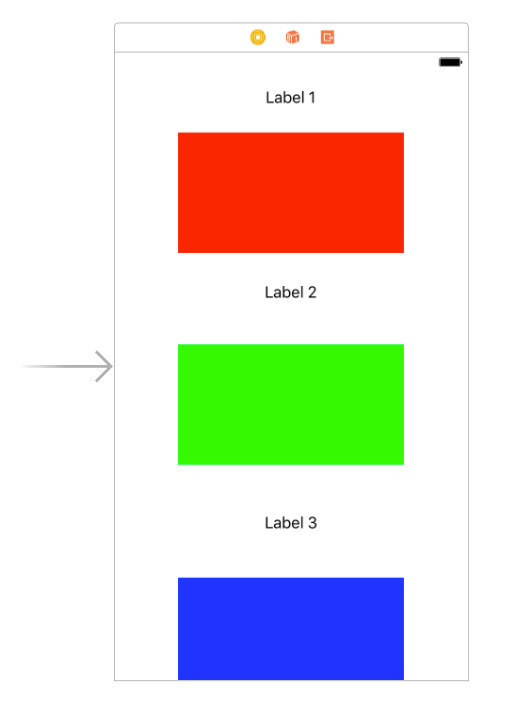
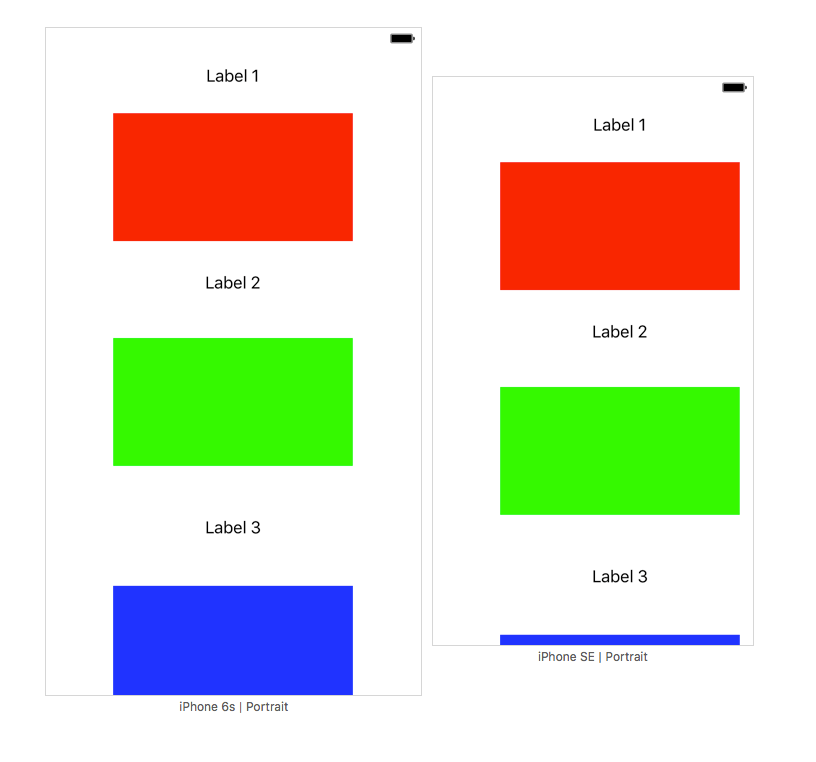
There’s not enough room on the screen, so you can’t see the blue view completely. Even worse, on the iPhone SE the blue view is almost completely gone as you can see in the assistant view:
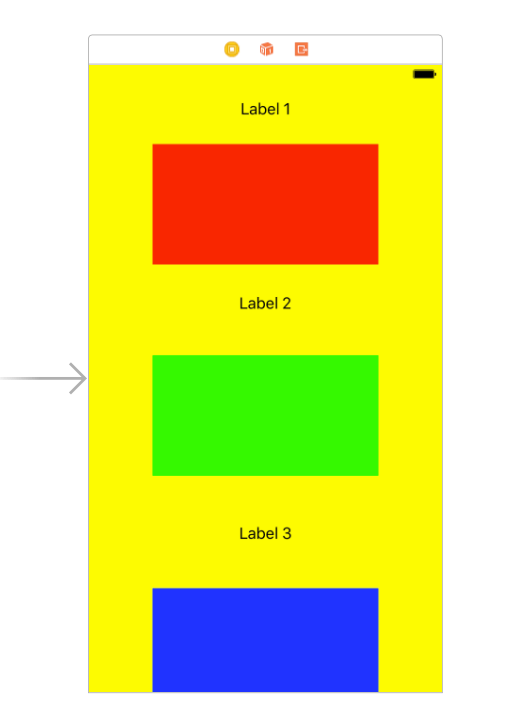
So how we can solve this problem? Well, we just embed the whole screen into a scrollview. Unfortunately, that’s not as easy as it may sound, but we will do it. To make it easier to explain, the main view of the controller has a yellow background from now on:
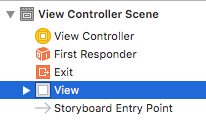
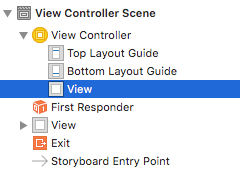
- Drag the yellow view outside of the view controller. The scene looks now as follows:
 Drag a UIView inside the view controller. This view is now the main view of the controller. Please make sure that controller’s view outlet is pointing to that view, but at least in Xcode 8 this should be done automatically.
- Drag a scroll view inside the view controller’s main view:

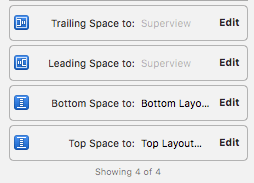
- Set the constraints of the UIScrollView so that it fills its superview completely:
- Drag the yellow view into the scroll view:
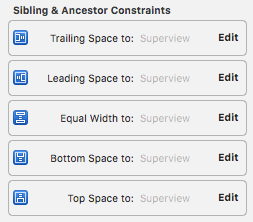
- Set constraints for the yellow view: Top, leading, trailing and bottom space to the superview (which is the UIScrollView). And, since we want the scroll view to scroll vertically and not horizontally, the yellow view and the scroll view have to have equal widths. Here you can see all the constraints of the yellow view:
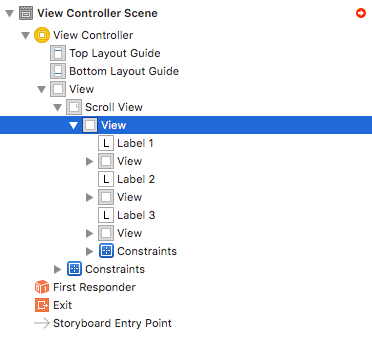
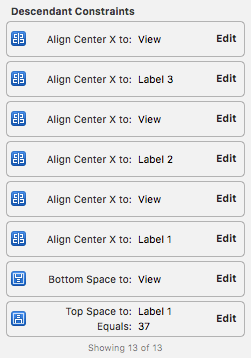
- Set constraints for the views inside the yellow view. We have to make sure that the height for the yellow view is implicitly defined through its subviews. In fact, we need a new bottom constraint from the blue view to its superview. Furthermore, it can happen that the top constraint of “Label 1” to its superview is lost. Make sure that it’s there. Here you can see all the descendant constraints of the yellow view:


And that’s it! Now the view is scrolling as expected.
References
Image: @ Lidiya Oleandra/ shutterstock.com