UIAlertController

UIAlertView and UIActionSheet are deprecated since iOS 8. The new way to go is UIAlertController, which can be configured as an AlertView or as an ActionSheet.
UIAlertController: AlertView Style
First, let us create an instance of UIAlertController:
let alertController = UIAlertController(title: "Title", message: "A message",
                      preferredStyle: UIAlertControllerStyle.Alert)
Here we are using UIAlertControllerStyle.Alert to specify the style for an alert. Now let us present the UIAlertController:
presentViewController(alertController, animated: true, completion: nil)
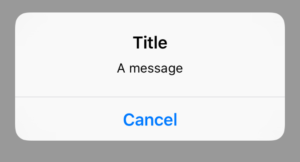
The alert will be presented like this:
Unfortunately, we can’t dismiss the alert, so we need to add a cancel button. We do this by adding a so called UIAlertAction to the UIAlertController :
let cancelAction = UIAlertAction(title: "Cancel", style: UIAlertActionStyle.Cancel, handler: nil)
alertController.addAction(cancelAction)
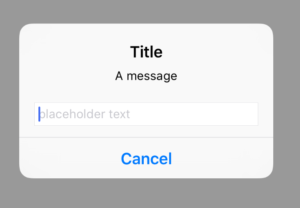
The action needs a title, a style and a handler. The handler will be executed, if we touch the button. For the style we can choose between Cancel , Default and Destructive . The alert looks now like this:
We can add an UITextField with the method addTextFieldWithConfigurationHandler:
alertController.addTextFieldWithConfigurationHandler { (textField: UITextField!) -> Void in
      textField.placeholder = "placeholder text"
}
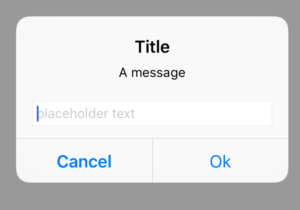
By adding an Ok button, we can handle the user input:
let okAction = UIAlertAction(title: "Ok", style: UIAlertActionStyle.Default) { (alertAction: UIAlertAction!) -> Void in
      let textField = alertController.textFields![0] as UITextField
      print("\(textField.text)")
}
alertController.addAction(okAction)
You can add as many UITextFields as you want.
UIAlertController: ActionSheet Style
Where an AlertView is behaving on both iPhone and iPad the same, an ActionSheet is presented differently on iPhone and iPad. To configure an UIAlertController as an ActionSheet, we just have to change the UIAlertControllerStyle:
let alertController = UIAlertController(title: "Title", message: "A message", preferredStyle: UIAlertControllerStyle.ActionSheet)

let okAction = UIAlertAction(title: "Ok", style: UIAlertActionStyle.Default) { (alertAction: UIAlertAction!) -> Void in
      println("ok touched")
}
alertController.addAction(okAction)

let cancelAction = UIAlertAction(title: "Cancel", style: UIAlertActionStyle.Cancel,
                                handler: nil)
alertController.addAction(cancelAction)

presentViewController(alertController, animated: true, completion: nil)
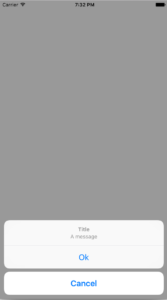
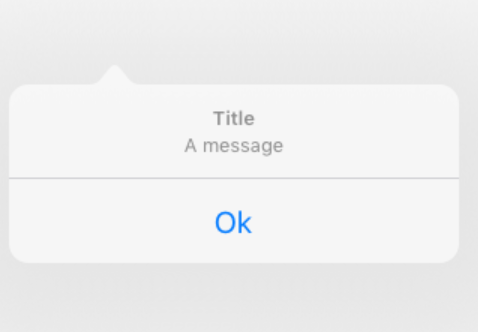
On the iPhone we get this result:
However, on the iPad an exception will be thrown, if we try to present the UIAlertController. This happens due to the fact that on the iPad the ActionSheet is presented as a popover. So you have to configure the UIPopoverPresentationController of the alert view:
let alertController = UIAlertController(title: "Title", message: "A message", preferredStyle: UIAlertControllerStyle.ActionSheet)

let okAction = UIAlertAction(title: "Ok", style: UIAlertActionStyle.Default) { (alertAction: UIAlertAction!) -> Void in
      print("ok")
}
alertController.addAction(okAction)

let cancelAction = UIAlertAction(title: "Cancel", style: UIAlertActionStyle.Cancel,handler: nil)
alertController.addAction(cancelAction)

presentViewController(alertController, animated: true, completion: nil)

let presentationController = alertController.popoverPresentationController
presentationController?.sourceView = self.view
presentationController?.sourceRect = CGRectMake(30, 30, 100, 100)
Now no exception is thrown any more and we get the correct result:
For more information about UIPopoverPresentationController , take a look at this post.
References
Image: @ schatzy /shutterstock.com
Class Reference

